Creating and updating the minutes for your meeting is easy. The structure for your minutes is based on the agenda you setup for your meeting, so make sure that is setup beforehand.
Option 1: Go to Agendas & Minutes and select “Minutes Keeper.” Locate the meeting you wish to add/edit.
Option 2: Go to the Meeting page for the meeting minutes you want to add/edit. Click on the Minutes tab to view or edit the agenda for the meeting:
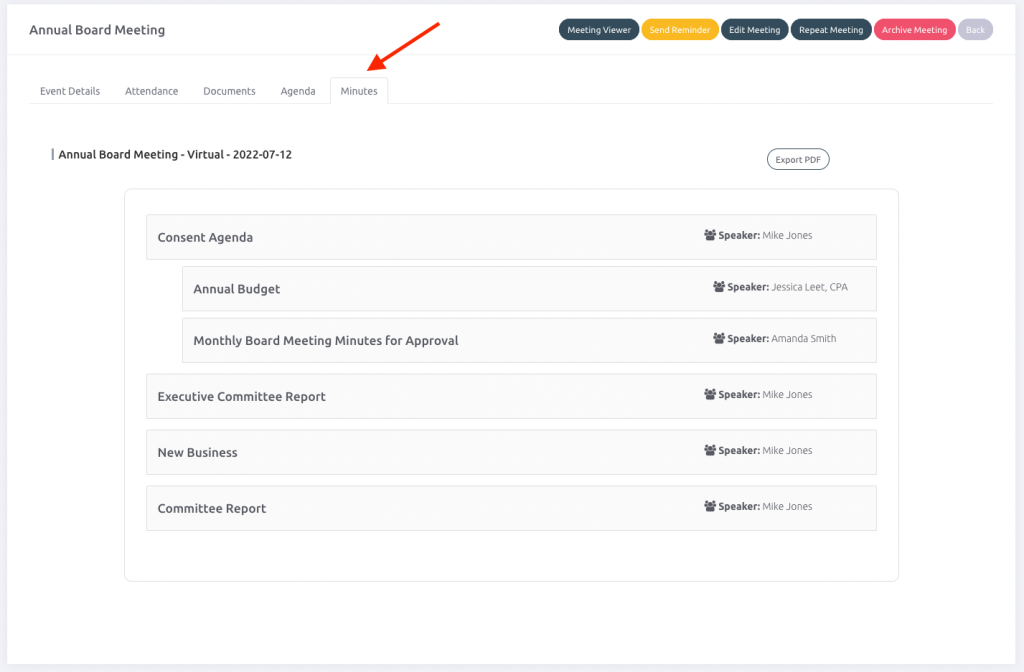
On the minutes page you can add headings and sub-headings. To get started, simply select a heading you would like to record minutes for:
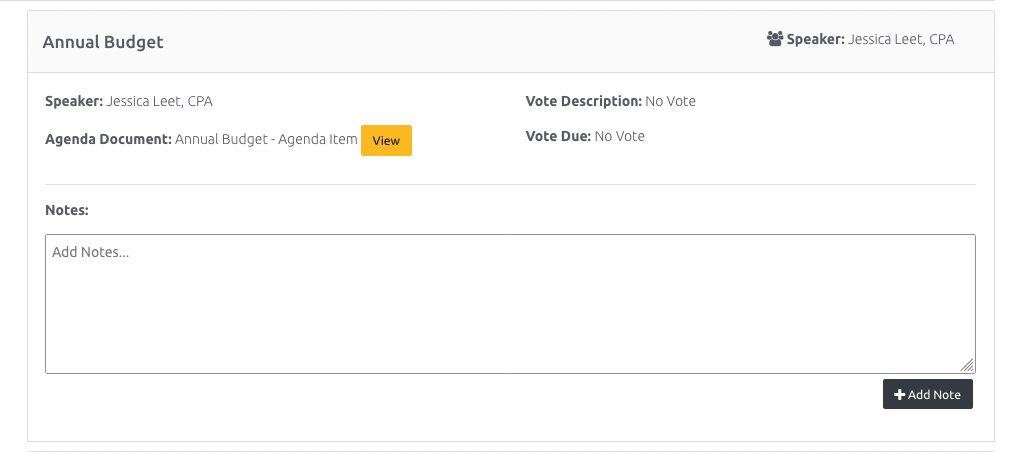
For every agenda heading, you will be able to add Notes. Once you are done editing the notes/minutes for that agenda item, click “Add Note.”
If there are existing notes/minutes for that agenda item simply click “Edit Note” and you will be able to add/update the existing notes for that item.
Finally, you can manage the minutes status by selecting the “Change Status” option.
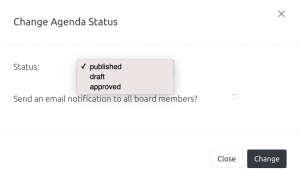
Minutes status options include:
- Published: The minutes are available for all members to see, based on their permissions and access.
- Draft: The minutes are only available for administrators and/or staff to see while it is still being completed. Other members will not be able to see the minutes yet.
- Approved: The minutes are locked to future changes and has been approved.
Additionally, you can have an email notification sent to members about the minutes status if you select the “Send an email notification” option. (Note: this email only goes to members who would be able to see the linked event. For example, if it is a committee meeting only committee members will be notified.)


